Profile: Assessments
This article will guide you through the process of fulfilling a full Assessments process. Assessments are an Add-On Feature for Pro Tier Firms, that has to be turned on by contacting your Account manager.
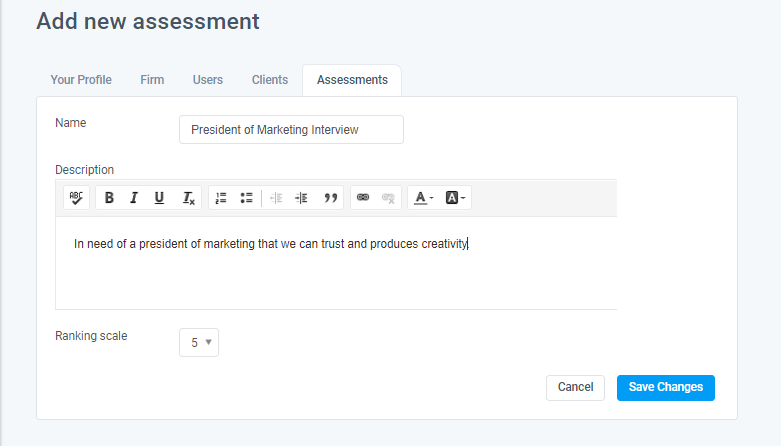
1. Navigate to your Profile. Once you have your Assessments turned on then the tab will appear, then click “Add Assessments”.


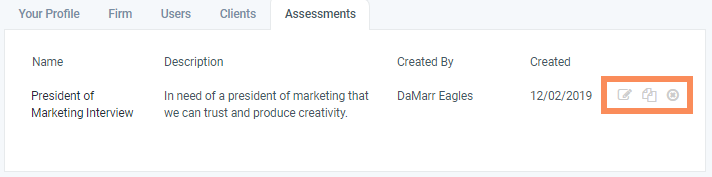
2. Then, you can create the name of the Assessment Template, along with the description and Ranking Scale. Following the Assessment Template being saved, the user will have the ability to edit, copy, or delete it.
Next, you will be able to name the “Section” of the questions. Below that, you can create the question you would like to ask inside of the Assessment.
Note: The answer type to the question can be a Star Rating, Bar Rating, or Text Response.

**Please Note that the "bar_rating" has four options:
Label below

Label Right

Square (Recommended 3 letters in a single line)
 Pill (Recommended 3 letters in a single line)

4. After creating the Templates, navigate to the desired Project and select the Assessments tab. Click “Add Assessments”.
 *Note: Upon toggle set to be ON/OFF, Assessment View is ON/OFF for Client users.
Users can select the Assessment you want to have access to within a project. There’s a drop down option if you have more than one template created. Then click “Add”.

5. Next, select the Candidates tab. Find the candidate you would like to send the Assessment for and click “Show Details”.

A new panel will open up with the option for A ssessment Invitations. Select the Assessment of your choice and “Send Invitation”.
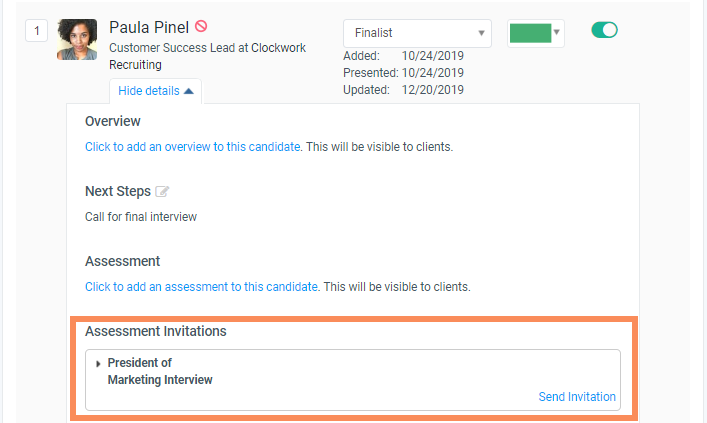

**The option “On behalf of” is for someone that may be too busy to fulfill the Assessment in time. A trusted person can then fill out the Assessment On behalf of that Assessor.
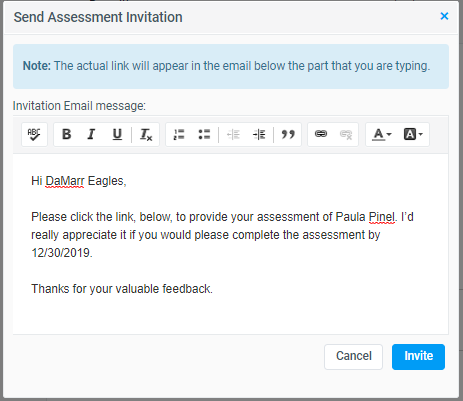
6. There will be an auto created email to send to the person that was selected in the step above.
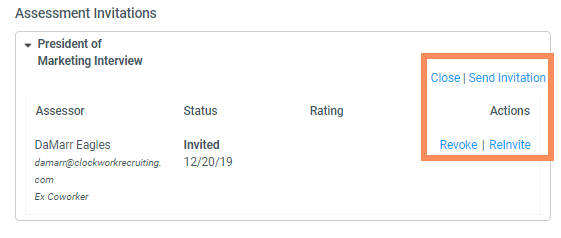
7. The Assessment details will then show under the candidates information, so you can stay up to date on the status.
The user is provided with actions to Revoke or Reinvite the Assessment at any time. The Assessor will be notified of either selection when chosen.
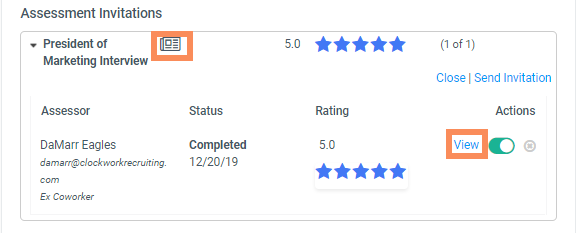
8. The Assessor will have until the date provided to finish the Assessment. They also have the choice to Decline the Assessment in which the “Invited” date will be removed.
If they choose to fulfill it then the Status will change from Invited to Completed. Selecting the Newspaper icon or clicking “View” will take you to the results of the Assessment.
Assessor View
1. The Assessor will receive an email with a direct link to the Assessment Template to fill out before the assigned due date or decline the Assessment.

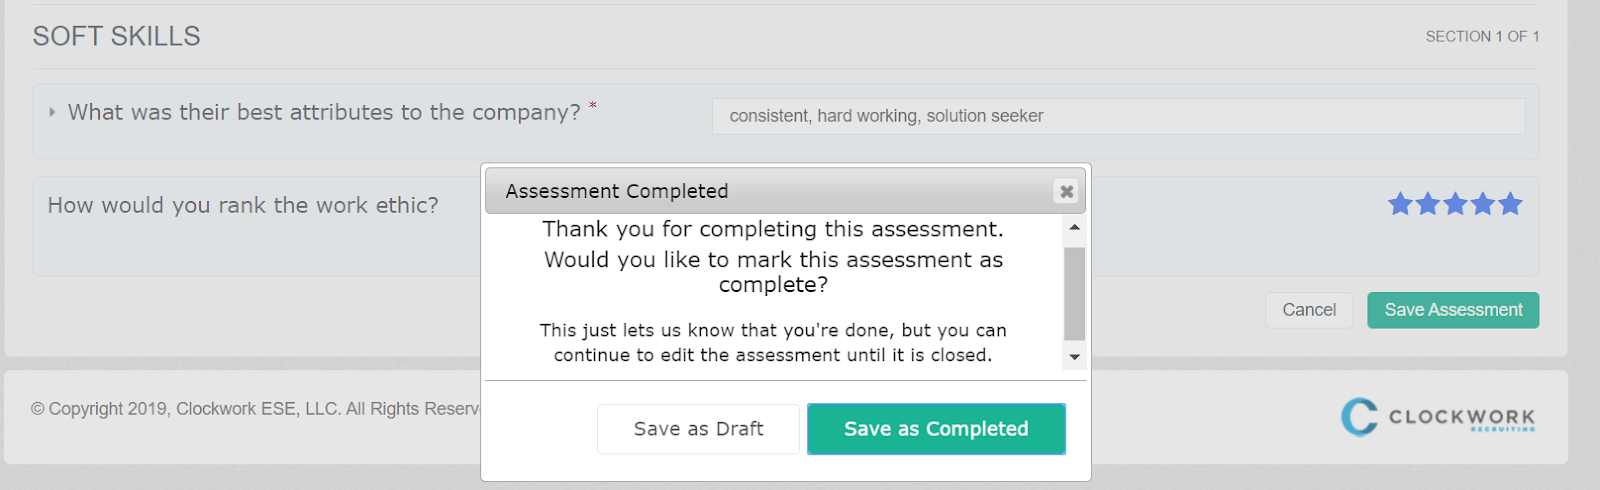
2. A new window will open with the created Template’s and the chosen candidate’s name at the top of the screen. Below would be the created questions with the chosen form of answers.
Once the Assessor fills out the form but they are not ready to submit the answers. They can still click Save Assessment in the bottom right corner. This will populate a secondary response with the options to “Save as Draft” OR “Save as Completed”.

After the Assessment is filled out then the User will be notified and your part is complete.